Understanding Minidv Tapes and Their Significance
What Are Minidv Tapes?
MiniDV tapes are a digital recording medium that have been widely utilized since their introduction in the late 1990s. These compact cassettes are capable of storing high-quality video and audio data, making them a popular choice among both amateur videographers and professionals. With a capacity to hold up to 60 minutes of video in standard recording mode and 90 minutes in long play mode, MiniDV tapes offer a convenient solution for capturing cherished moments in motion.
Historical Context and Usage
In the context of video recording, MiniDV tapes emerged as a significant technological advancement, replacing older analog formats. They were primarily designed for digital camcorders, providing superior video quality and compression capabilities compared to VHS and other analog media. Over the years, MiniDV tapes became a staple in both home video recording and professional filmmaking, heralding a new era of digital cinematography. However, the rise of digital storage methods such as hard drives and cloud services, along with the decline in the use of physical media, has led to concerns over the preservation of content stored on these tapes.
The Importance of Digital Conversion
Digitally converting MiniDV tapes is crucial for ensuring the longevity and accessibility of the footage they contain. Over time, the physical tapes can degrade, leading to potential loss of valuable content embedded within. By converting these tapes to digital formats, users can not only safeguard their memories but also enhance their accessibility for modern viewing platforms. The process also allows for easier editing and sharing across a variety of digital mediums. For those looking to transition from analog to digital, resources such as Minidv to digital services can be invaluable in preserving these irreplaceable moments.
Choosing the Right Equipment for Minidv to Digital Conversion
Essential Tools for Effective Conversion
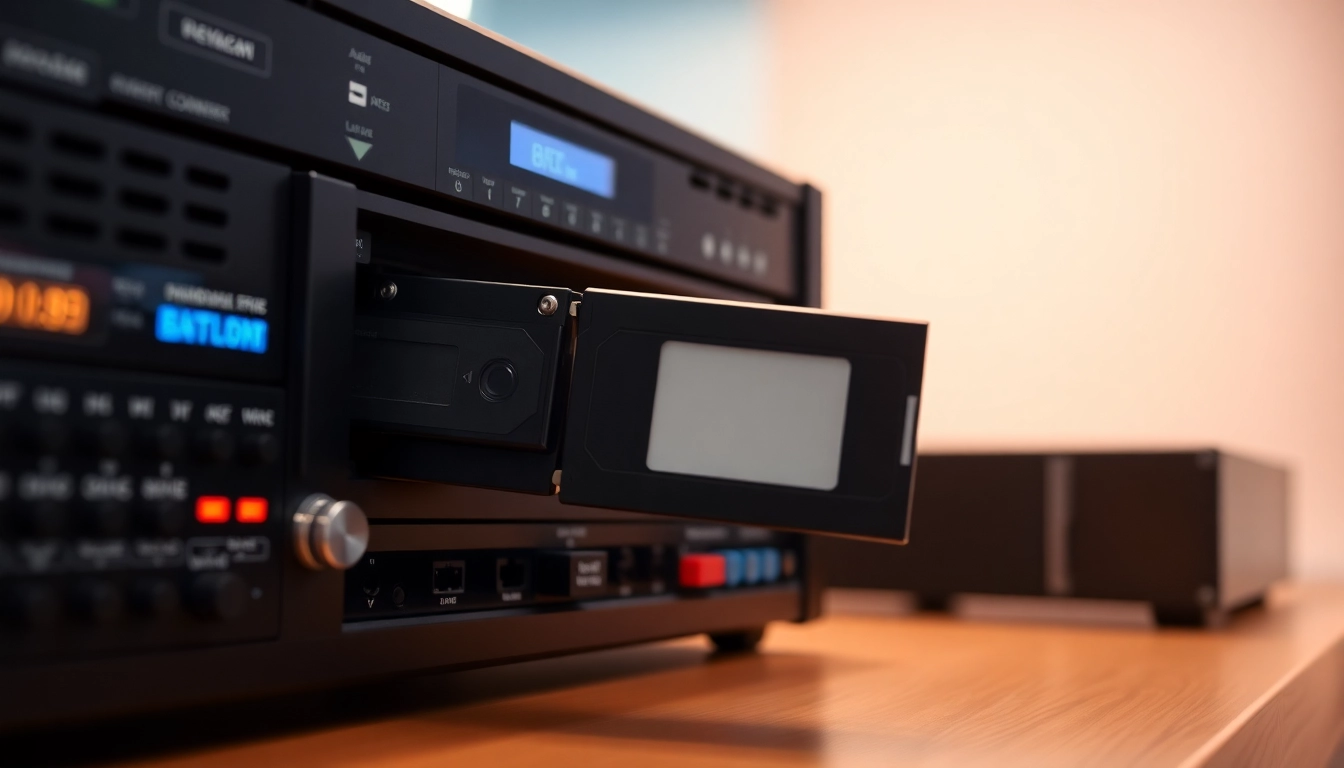
When it comes to converting MiniDV to digital formats, having the right tools is essential. At a minimum, you will need a MiniDV camcorder or player that is still operational, compatible video capturing software, and a computer capable of processing the video. Many users opt for solutions that allow for direct connections between the camcorder and the computer, often utilizing FireWire (IEEE 1394) ports which are standard for many MiniDV devices.
Affordable Options for Home Users
For those looking for affordable solutions for home conversion, there are several options available. Many users have successfully utilized second-hand MiniDV camcorders obtained through online marketplaces. Another low-cost approach involves using USB video capture devices, which can convert analog signals from a functioning camcorder directly to digital files on a computer. There are also free video capture software tools that allow users to take advantage of their existing equipment without incurring additional costs.
High-End Solutions for Professionals
For those requiring higher quality output or managing large volumes of tapes, investing in professional-grade equipment is advisable. High-end video capture devices and software are available that optimize audio and video quality during the conversion process. Professional services specializing in video conversion offer advanced features, such as noise reduction and stabilization, ensuring a polished, professional finish to converted content.
Step-by-Step Guide to Converting Minidv to Digital
Preparing Your Equipment
Preparation is key to a successful conversion process. Begin by gathering all necessary equipment, including your MiniDV camcorder, a computer with video capture software, and any necessary connection cables, such as FireWire or USB. Ensure that all software is installed and updated to the latest version to avoid compatibility issues. Additionally, check that the MiniDV tapes are in good condition, free from visible damage or mold.
Executing the Conversion Process
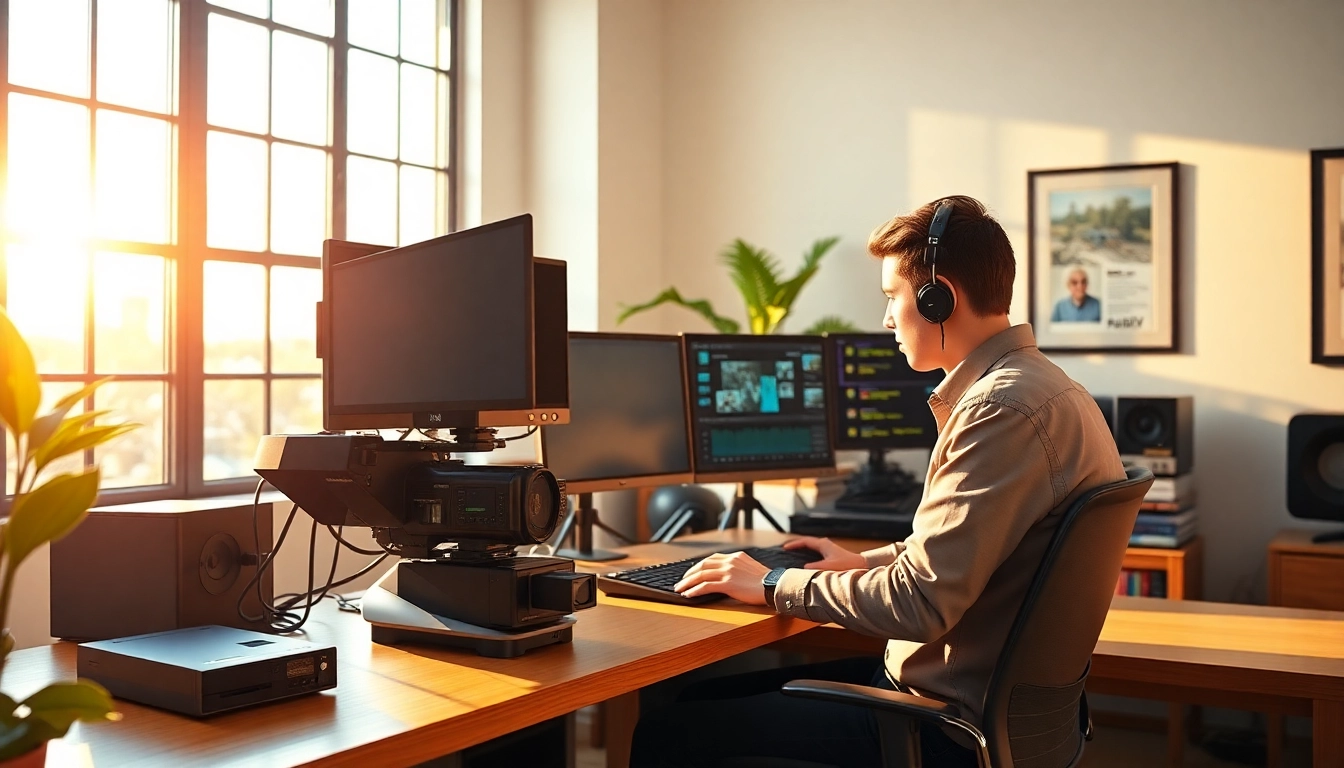
Once your equipment is ready, it’s time to execute the conversion process. Connect your MiniDV camcorder to the computer and launch the video capture software. Most software will provide a straightforward interface for controlling the camcorder during playback. Play the MiniDV tape and begin recording in the software; this will capture the incoming video stream and convert it into a digital video file on your computer. Monitor the process to ensure that everything is working correctly and make any necessary adjustments, such as adjusting audio levels or setting file formats.
Post-Conversion Editing and Cleanup
After conversion, you may want to enhance the video quality and organization of your digital files. Utilizing video editing software, you can trim unnecessary footage, correct color balance, or enhance sound quality. Additionally, it’s wise to organize your files in a way that makes sense to you, perhaps by renaming them or placing them in specific folders categorized by date or event. Consider creating backup copies across multiple storage solutions, such as external hard drives and cloud storage, to ensure that your memories remain safe.
Common Challenges in Minidv to Digital Conversion
Dealing with Tape Degradation
As MiniDV tapes age, they are susceptible to degradation which can lead to playback issues. Signs of degradation may include audio dropouts, pixelated video, or even complete loss of data. It’s important to handle tapes carefully and keep them stored in a controlled environment to extend their lifespan. When converting, you may also encounter issues with tracking—it’s essential to clean the tape heads of the camcorder before the conversion to reduce the risk of playback errors.
Addressing Audio-Video Synchronization Issues
One common issue during the conversion process is audio-video synchronization problems. This can happen due to variations in playback speed or software lag. If you encounter synchronization issues, consult the settings in your video capture software—adjustments to buffer settings and frame rates may resolve the problem. In post-production, software tools are often available to help manually sync audio and video if issues persist.
Overcoming Software Compatibility Problems
Finally, software compatibility issues can arise, particularly with older camcorders that may not connect seamlessly to modern systems. If you experience challenges, consider using intermediary devices like video capture cards or dedicated hardware for older formats. Additionally, reviewing user forums and platforms for troubleshooting tips can often provide solutions from others who have faced similar challenges during their conversions.
Benefits of Preserving Your Memories Digitally
Accessibility and Convenience
Converting MiniDV tapes to digital formats provides enhanced accessibility and convenience. Digital files can be easily stored, shared, and accessed across various devices, eliminating the need for physical storage of tapes that can take up space and degrade over time. Families can share cherished videos across platforms with friends or family members worldwide with just a few clicks, creating opportunities for shared experiences.
Enhancing Video Quality
Digital conversion also opens the door to enhanced video quality. Through advanced software, users can edit and enhance videos in ways that were not possible with physical tapes. This might include altering color settings, removing noise, or improving sound quality, resulting in a more enjoyable viewing experience. The preservation of memories is about not only saving them but making them vibrant and vivid for future generations.
Long-Term Storage Solutions
Finally, with digitization comes the opportunity for long-term storage solutions. Digital files can be stored in multiple locations—cloud storage, external hard drives, or even NAS (Network Attached Storage) systems. Unlike physical tapes, digital formats do not suffer from the same risks of wear and tear, making them a more reliable option for long-term memory preservation. Proper backup strategies can further mitigate the risk of data loss, ensuring that your memories are safeguarded for the future.