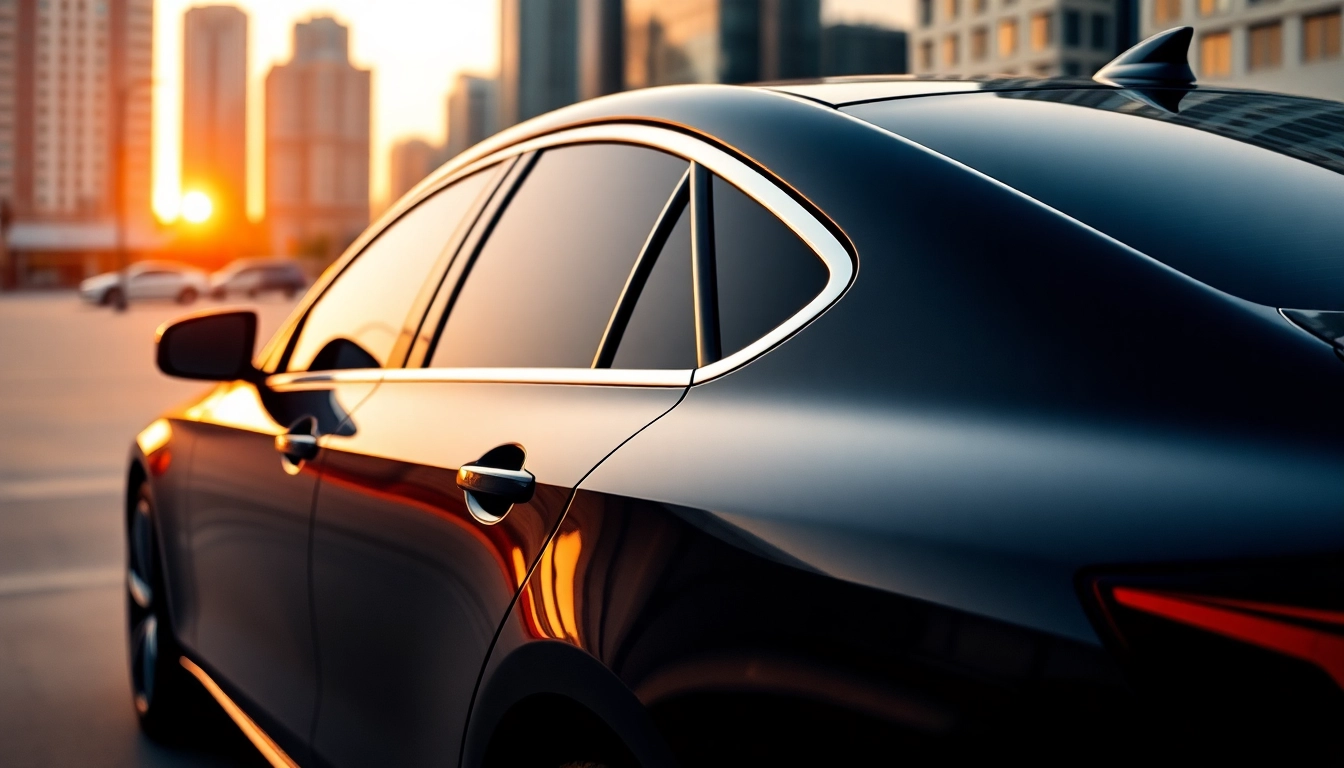
Understanding Car Tint: Benefits and Types
When considering enhancements for your vehicle, car tint offers a blend of functionality and aesthetics that many drivers appreciate. This article will delve deep into the multifaceted world of car tint, covering its protective benefits, various types of films available, and how to select the most suitable tint for your vehicle.
The Protective Powers of Car Tint
Car tint, often referred to as window film, serves several purposes that go beyond mere aesthetics. One of the most compelling benefits of applying tint to your vehicle’s windows is the enhancement of passenger comfort and protection from the sun’s harmful rays. High-quality tinted films can block up to 99% of ultraviolet (UV) rays, which helps to protect the skin of drivers and passengers alike from harmful exposure.
Moreover, tinted windows can significantly reduce the internal temperature of a vehicle, minimizing the reliance on air conditioning and improving fuel efficiency. This is particularly advantageous during hot summer months when temperature retention can lead to increased energy consumption.
Car tint can also provide a level of privacy, making it more difficult for outsiders to see into the vehicle, which can deter theft or vandalism. In addition, should an accident occur, the tint can hold shattered glass together, preventing injuries from flying shards.
Different Types of Car Tint Films
There are several types of window films available, each with unique properties and benefits:
- Dyed Window Film: This is the most basic type of tint, incorporating dye between layers of polyester. While it blocks additional sunlight and provides color, it primarily offers privacy and aesthetic appeal.
- Metalized Window Film: Containing microscopic metals that reflect heat, this film offers superior heat and UV protection. It strengthens the glass and adds a level of shatter resistance.
- Carbon Window Film: This modern type contains carbon particles which do not fade over time. Carbon films provide excellent UV protection, are aesthetically pleasing, and absorb heat effectively.
- Ceramic Window Film: The most advanced option on the market, ceramic films offer high heat and UV rejection while allowing a clear view of the road. They do not interfere with electronic devices, making them ideal for modern vehicles.
How to Choose the Right Car Tint for Your Vehicle
Selecting the right car tint involves considering several factors including local regulations, your personal preferences, and the primary purpose of the tint. Here are key points to guide your decision:
- Legal Restrictions: Different states and countries have varying regulations regarding the allowable tint on vehicle windows. Always check local laws to ensure compliance.
- Purpose of Tinting: Consider what benefits you are seeking; whether it is UV protection, heat reduction, or aesthetic enhancement.
- Quality: Invest in high-quality films from reputable manufacturers, as these typically offer better performance and longevity.
Installation Process: DIY or Professional?
Once you have decided on the perfect tint, the next step is installation. This is where many car owners face a dilemma—should they attempt a DIY (Do-It-Yourself) installation or seek professional help?
Step-by-Step Guide to DIY Car Tinting
For those opt for a DIY approach, proper preparation and technique are crucial for achieving a flawless finish. Here’s a step-by-step guide:
- Gather Materials: You will need window tint film, a sharp utility knife, a squeegee, a heat gun or hairdryer, and soapy water.
- Clean the Windows: Thoroughly clean the inside of the windows with a suitable cleaner to remove dirt and grease.
- Measure and Cut the Film: Measure the window size and cut the film accordingly, leaving a slight excess to trim later.
- Wet the Window: Spray soapy water onto the window, which will help with positioning the film.
- Apply the Film: Carefully place the film on the window and adjust it to fit. Use a squeegee to eliminate air bubbles.
- Trim Excess Film: Use the utility knife to trim off the excess film at the edges for a neat finish.
- Heat the Film: Use a heat gun or hairdryer to activate the adhesive and ensure proper adhesion to the glass.
Finding Trusted Professionals for Car Tint Installation
If DIY isn’t your preference, hiring a professional is recommended. Ensure you look for accredited installers who have experience working with high-quality films. Customer reviews and testimonials can provide insights into the quality of their work. A professional installation often comes with a warranty, which can provide peace of mind.
Common Mistakes to Avoid in Tinting Your Car
Whether opting for DIY or professional services, there are pitfalls to avoid:
- Neglecting Legal Limits: Failing to research local laws can result in a costly removal of non-compliant tint.
- Poor Quality Film: Low-quality films may not provide the desired protection and can fade or peel over time.
- Inadequate Preparation: Failing to clean windows properly will lead to bubbles and poor adhesion.
Legal Considerations: Understanding Car Tint Regulations
Before installing window tint on your vehicle, it’s vital to understand the legal restrictions that may apply. Violating tint laws can lead to fines and in extreme cases, having to remove the tint altogether.
State Laws and Tinting Restrictions
Each state has specific laws regarding the allowable percentage of light that must pass through your windows, known as the Visible Light Transmission (VLT). Some states are more lenient than others:
- Many states allow darker tints on rear windows compared to front windows.
- Some regions may prohibit reflective tints altogether.
How to Check Your Local Tinting Regulations
The best way to ensure compliance is to check with your local department of motor vehicles or consult the official state websites that outline vehicle equipment regulations. Being informed can save you headaches in the long run.
The Importance of Compliance for Vehicle Safety
Compliance with tint regulations is essential for ensuring that vehicles remain safe for both drivers and others on the road. Excessive tint can impede visibility, especially at night, increasing the risk of accidents.
Cost Factors: Budgeting for Your Car Tint
The cost of car tinting can vary widely based on several factors, including the type of film, the size of the vehicle, and the installation method chosen.
Average Costs of Different Tint Types
Here is a breakdown of average costs associated with various types of window tints:
- Dyed Film: Typically ranges from $100 to $150 for a standard sedan.
- Metalized Film: Costs can range from $150 to $250 depending on quality.
- Carbon Film: Prices usually lie between $200 and $300.
- Ceramic Film: The highest quality often costs between $300 to $500 due to its advanced technology.
Additional Costs: Installation and Maintenance
If you choose professional installation, you may need to factor in additional costs which can range from $50 to $150 based on the complexity of the job. Maintenance costs can also arise over time if the tint starts to peel or bubble, necessitating a replacement.
Ways to Save on Car Tinting Services
Look for seasonal promotions or packages that tint shops offer. Sometimes, bundling services such as tinting windows along with car detailing can yield significant discounts. Additionally, a bit of research into coupons or deals from local providers can result in cost savings.
Maintaining Your Car Tint: Tips for Longevity
Once your car tint is installed, proper maintenance is crucial to ensuring its longevity and effectiveness. Here are some practical maintenance tips:
Best Practices for Cleaning Tinted Windows
Cleaning tinted windows is different compared to standard glass. Use a soft cloth or microfiber towel along with a non-ammonia glass cleaner to avoid damaging the film. It’s advisable to wait at least 30 days after installation before cleaning the windows to ensure proper adhesive bonding.
How to Spot Damage or Wear
Regularly inspect the tint for signs of bubbling, peeling, or discoloration. Addressing these issues early can help in preventing extensive damage, which might lead to more expensive repairs down the line.
When to Consider Replacing Your Tint
If your tint is showing signs of significant wear or if its performance has deteriorated, it may be time for a replacement. Many high-quality automotive tints come with warranties ranging from 5 to 10 years, ensuring that you’re covered against defects. However, if your warranty has expired and the tint is damaged, it’s best to remove and replace it to maintain the aesthetic appeal and functionality of your vehicle.